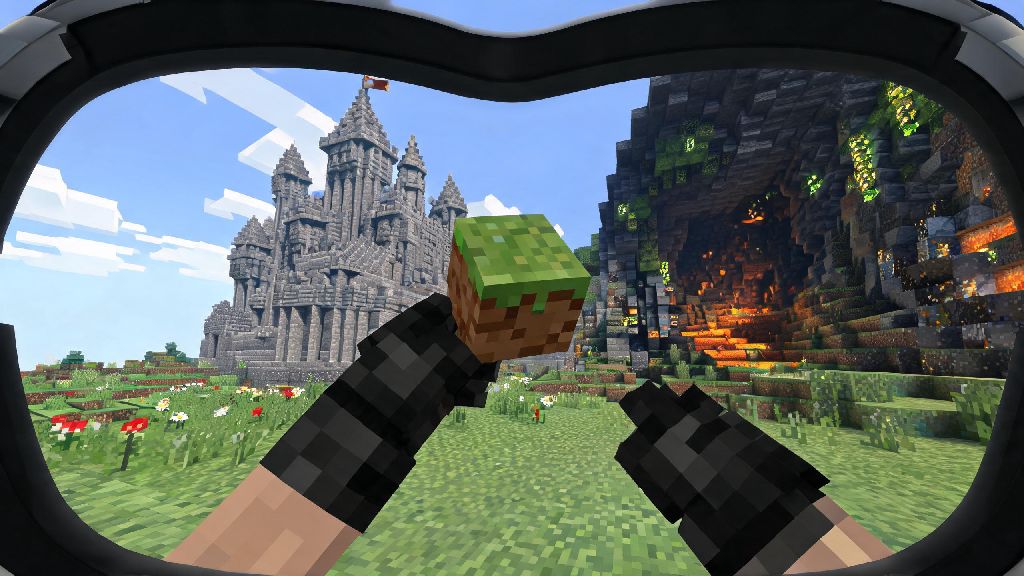
If you’ve ever spent hours building a towering castle or exploring a sprawling cave system in Minecraft and wondered can you play Minecraft on VR to make those experiences feel even more real, you’re not alone. For millions of players, the blocky world of Minecraft feels made for immersive, first-person exploration, and VR turns that daydream into a tangible experience where you can reach out and place blocks right in front of you, or duck to avoid a creeper sneaking up behind you. I’ve tested VR Minecraft across four different headsets over the last three years, so I’m breaking down exactly what works, what doesn’t, and how to get set up without wasting hours troubleshooting.
Can You Play Minecraft on VR? Supported Versions and Headsets
First, the short answer is yes, you absolutely can play Minecraft in VR, but support varies depending on which edition of the game you own and what headset you use. You don’t need a top-of-the-line gaming PC to get started, but you will need to make sure your setup matches the supported configurations to avoid lag or glitches. Once you have the right version, you can even play with friends who are using non-VR setups, no extra work required on their end.
One common mistake new players make is buying the wrong edition of the game for their headset. If you own a Meta Quest and only have Minecraft Java, you won’t be able to play natively without a PC link, so double check before you start downloading extra files. I learned this the hard way when I first got my Quest 2, and spent an hour confused why I couldn’t find the VR toggle in the Java version settings.
How to Set Up VR Minecraft in 10 Minutes or Less
The setup process is far simpler than most people expect, even for first-time VR users. If you’re playing on Bedrock Edition for Meta or PlayStation, all you need to do is download the official Minecraft app from your headset’s store, log in to your Microsoft account, and you’re almost ready to go. Enable VR mode in the settings menu before you load into a world, and run a quick play space calibration to make sure you have enough room to move around without bumping into furniture.
For Java Edition players, you’ll need to install the free Vivecraft mod, which is designed specifically to add VR support to Minecraft Java. Make sure you have the same base version of Minecraft Java installed as the Vivecraft build you download, then run the Vivecraft installer, and it will automatically add a new profile to your Minecraft launcher. You don’t need any extra mods unless you want to add custom features, the base Vivecraft install works perfectly for vanilla gameplay. If you were wondering can you play Minecraft on VR with modded worlds, the answer is yes, as long as all the mods you use are compatible with the version of Vivecraft you’re running.
If you’re prone to motion sickness, turn on smooth locomotion with snap turning first, before you try any other movement settings. I usually recommend new players spend their first 15 minutes in a creative flat world just moving around, so they get used to the feeling before jumping into a survival world.
Best Gameplay Settings for a Smooth VR Minecraft Experience
VR is far more demanding on your hardware than regular Minecraft, because it renders two separate frames at once, one for each eye. Even if you run regular Minecraft at max settings with a 20-chunk render distance, you’ll need to adjust your settings for VR to avoid lag, which can trigger motion sickness very quickly. Start with a render distance of 8 to 12 chunks, that’s the sweet spot for most headsets, and you won’t notice a big difference in gameplay for most casual play sessions.
Turn off fancy graphics and dynamic lighting if you’re noticing stutter, those two settings are the biggest drains on VR performance. You can always turn them back on one at a time to see what your system can handle, but starting with lower settings will make your first play sessions far more comfortable. If you want to make the world feel more immersive, you can turn on hand tracking if your headset supports it, so you can place blocks with just your hand movements instead of a controller.
But if you’re playing survival, I still prefer using a controller, because it’s easier to fight mobs and mine quickly without fumbling with hand tracking. Also, adjust your player height in the VR settings to match your real height, it makes building feel far more natural when your in-game eye level lines up with your actual one. I once forgot to adjust this after my little cousin used my headset, and spent 20 minutes wondering why I felt like I was walking on stilts the whole time I played.
Common VR Minecraft Problems and Quick Fixes
Even with the right setup, you might run into a few small issues when you first start playing VR Minecraft, but most of them have very simple fixes. The most common complaint is motion sickness, which affects about 30% of new VR players in their first few sessions. If you start feeling dizzy, take a break immediately, don’t push through it. You can also turn on comfort view (also called vignette) which darkens the edges of your screen when you move, it reduces the feeling of motion a lot, and most players get used to VR movement after 3 or 4 short play sessions.
Another common issue is controllers not registering properly, or your in-game hands floating away from where your real hands are. This almost always happens when you have another VR app running in the background, so close Minecraft completely, restart your VR headset, and make sure no other programs are open before you launch the game again. If you’re playing on a PC, make sure your headset drivers are up to date, that fixes 90% of controller connection issues.
If blocks aren’t placing correctly, or you’re interacting with blocks you’re not looking directly at, this usually happens if your play space calibration is off. Re-run the room setup in your headset settings to fix it, and make sure you’re standing in the center of your play space when you start the game. If you’re playing on a public server, make sure the server allows Vivecraft connections, some small competitive PvP servers block VR players to prevent cheating, but almost all casual survival and creative servers allow VR players with no restrictions. I’ve only run into one server that blocked VR players in all my time playing, so it’s a very rare issue.
At the end of the day, if you were asking can you play Minecraft on VR, the answer is a resounding yes, and it’s one of the most fun ways to experience the game if you have access to a headset. You don’t need to spend a fortune to get started, even an older Meta Quest 2 works perfectly for casual play, and the setup process is far simpler than it was even a few years ago. Take it slow when you first start, adjust your settings to fit your comfort level, and don’t be surprised if you end up losing hours exploring your old worlds in a whole new way. It’s not for everyone, especially if you get motion sickness easily, but for most players, it’s a game-changing way to enjoy Minecraft that feels like stepping inside the world you spent so much time building.